Urban Flat Pedals - Blog
Remove and install bike pedals in 3 easy steps

Introduction
Removing and installing bicycle pedals may seem like a straight forward task, but it holds some pitfalls, especially for inexperienced mechanics, some of which can affect the life of the components and your own safety. To avoid damaging your gear, we demonstrate in three simple steps how to remove your old pedals and safely mount the new ones, using MOTO Urban Pedals as an example.
Turn your knowledge to the left
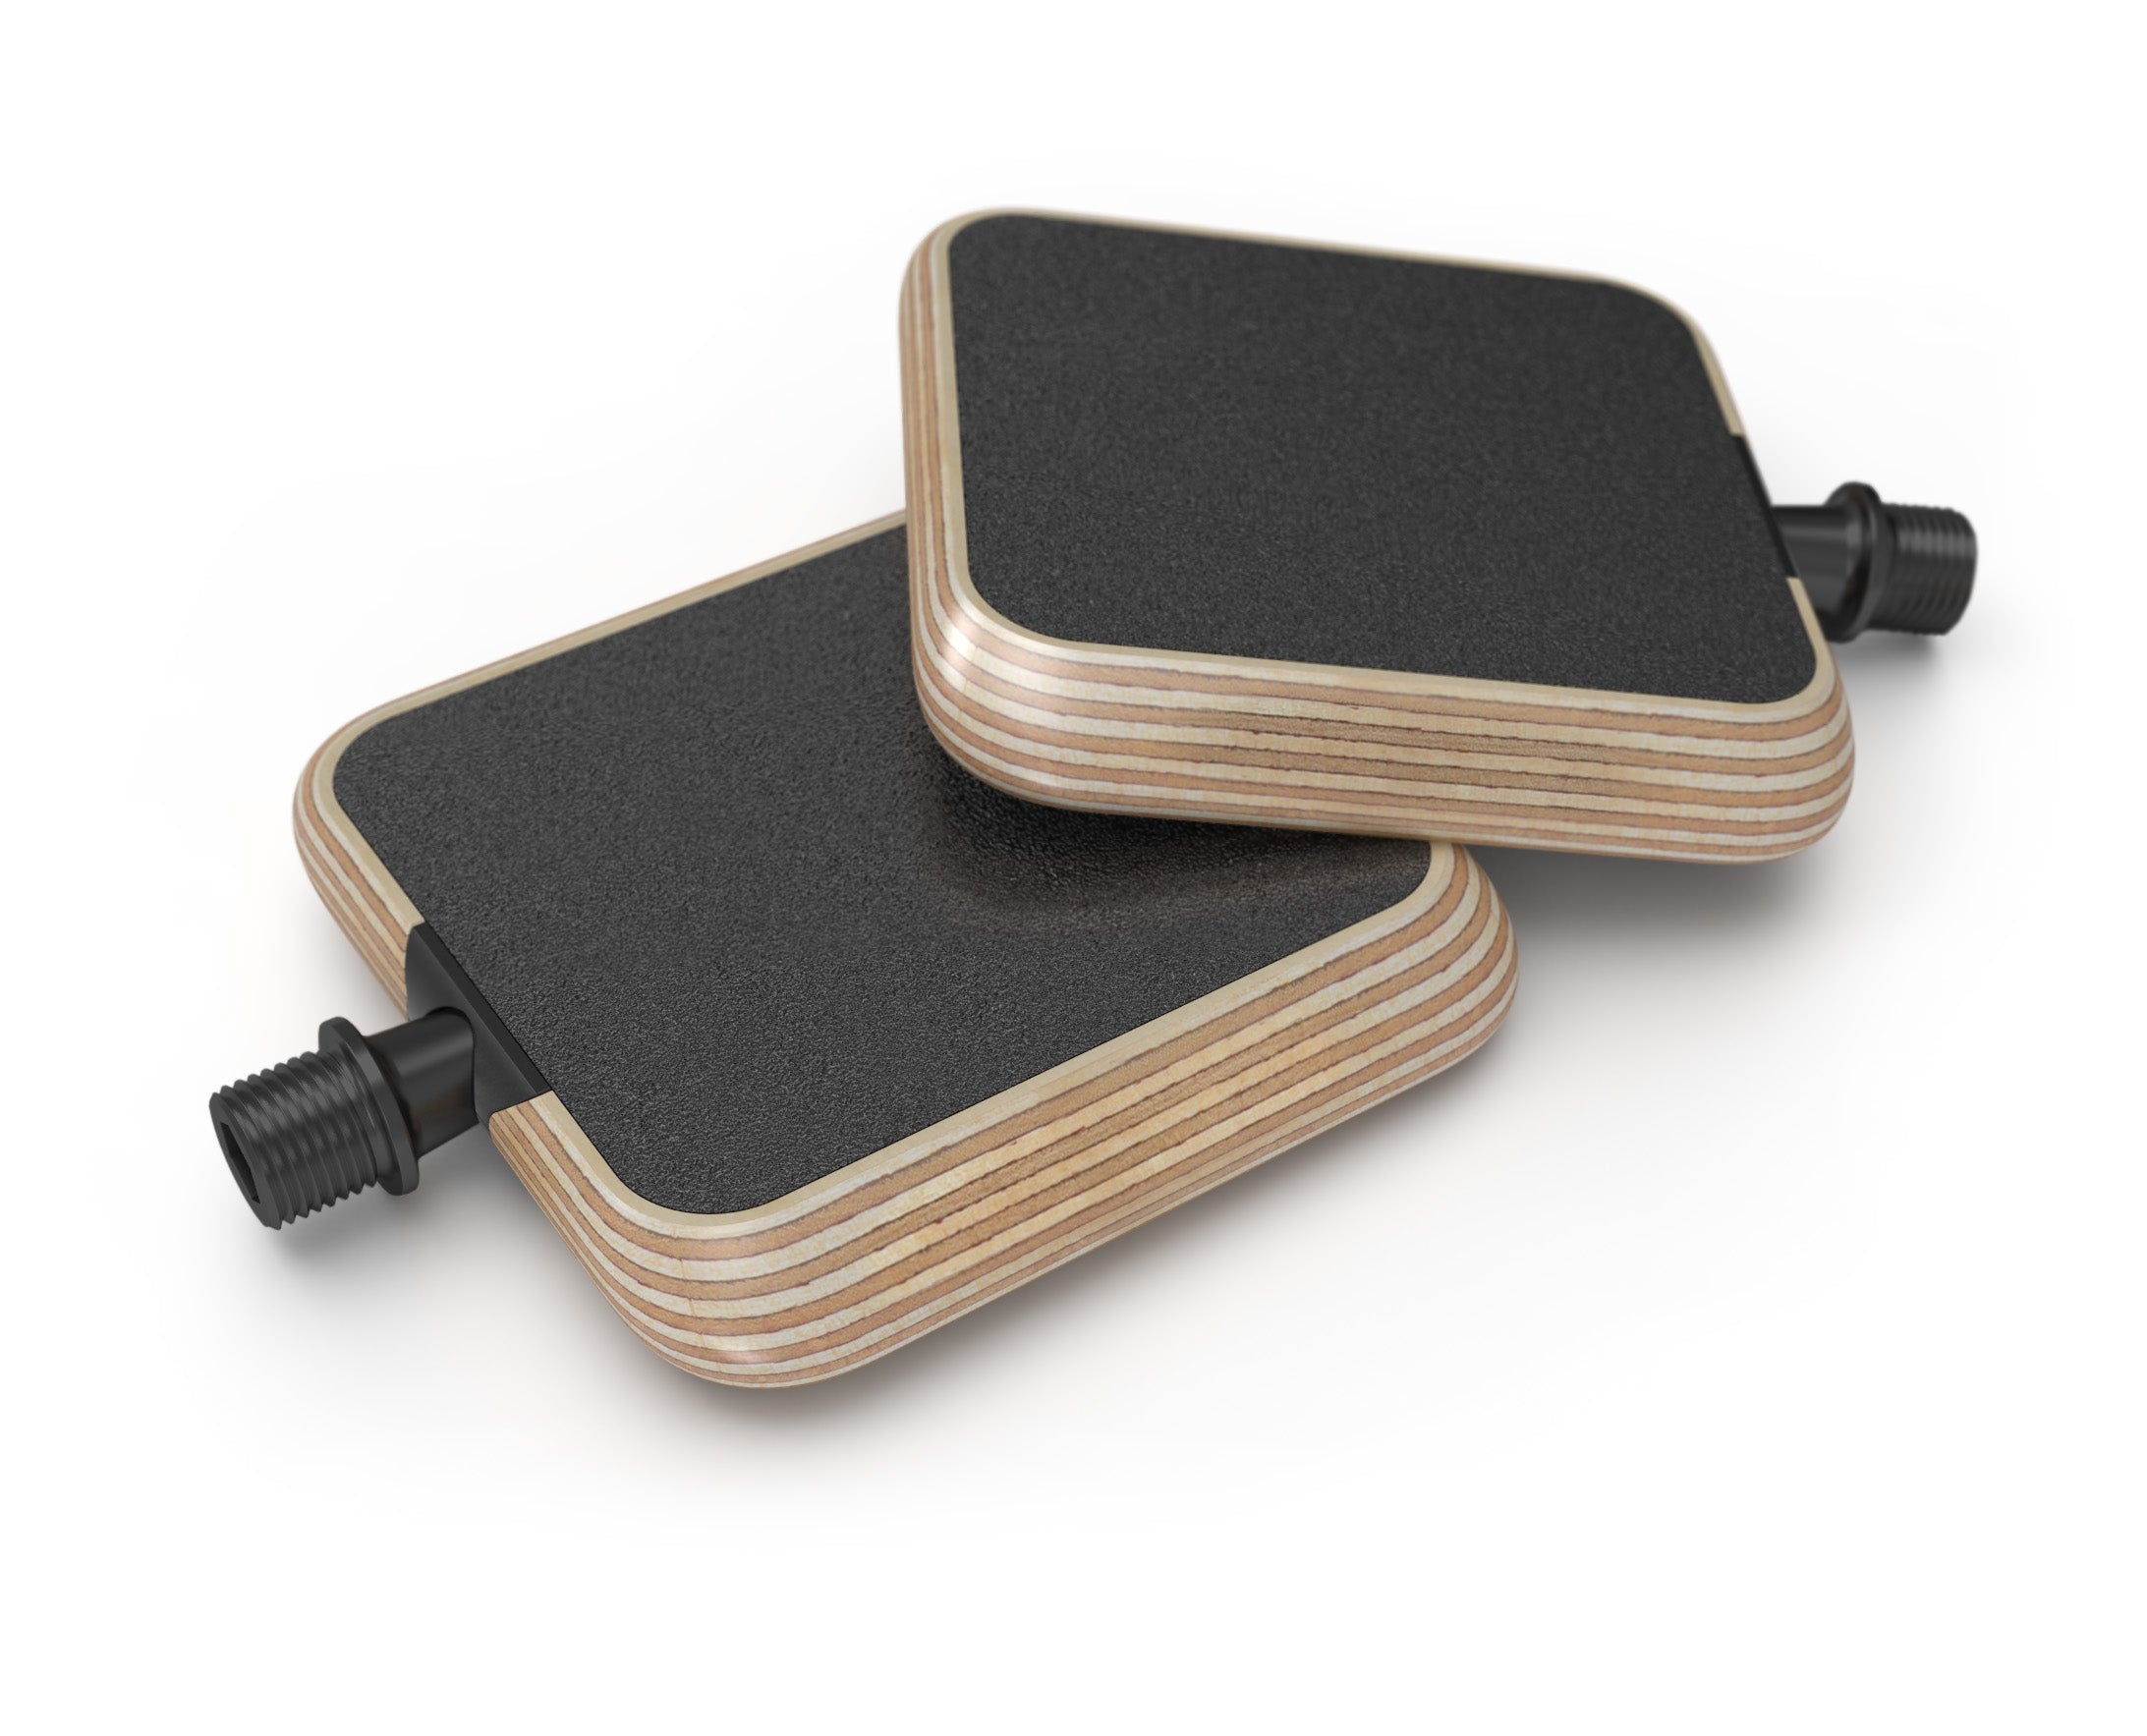
The most important thing first: bicycle pedals have side-specific threads. On the right side we find a standard thread with the usual mounting direction, that is, it is tightened clockwise and loosened counter-clockwise. The left side is equipped with a left-hand thread that is tightened and loosened in exactly the opposite direction. The use of direction-specific threads secures bicycle pedals against unintentional loosening during pedaling.
• Right pedal = normal thread
• Left pedal = left-hand thread (reverse threading direction)
• Mounting side is marked on the axle
in MOTO pedals, a groove on the axle collar identifies the left pedal.
Required tools
• 15 mm open-end spanner or dedicated pedal spanner
• 8 mm Allen key
• High quality grease
The type of tools you need to remove and mount your bicycle pedals depends on your particular make and model. In most cases, an open-end 15 mm spanner, ideally a long handled pedal spanner, is used for entry-level pedals. Modern pedals, especially in the high-end range, have a fitting for 8 mm or 6 mm Allen key in the axle. In addition to the appropriate tool for pedal assembly, the use of a torque wrench is recommended, as well as a high-quality grease to protect the threads from seizing or making pedaling noises.
Step by step pedal swap
For better understanding and to avoid mistakes, let's go through each step shown in the assembly video
Unboxing
Before you start removing your old pedals, it pays to familiarize yourself with your new pedals. Make sure you have the right tools on hand and which pedal is for which side
1. Removing the old pedals
1.1 Rotate the crank so that you can work in a relaxed manner.
1.2 Engage the tool and rotate it counter-clockwise on the right side and clockwise on the left to undo the old pedals.
Once the pedal is loose, it can be unscrewd with the tool or by hand.
2. Clean & grease pedal thread
Before installing the new pedals, we recommend cleaning the crank threads of coarse dirt and checking the threads for damage. Apply grease to the crank and pedal threads to prevent them from seizing or making pedaling noises.
Never use oils or WD40 to lubricate the pedals.

Use a high quality grease. We recommend our MOTO Pedal Grease from the MOTO Refresh Kit. It can also be used to lubricate the bearing surfaces of the MOTO pedals, as it is best suited for both metal-to-metal and plastic-to-metal pairings
3. Installing your new pedals
3.1 Position the pedal thread at a 90° angle to the crank. The initial threading should able to be done by hand without much resistance.
3.2 Insert the appropriate tool and thread the pedals completely into the crank. Tighten the right side clockwise and the left side counter-clockwise.

Use a torque wrench, if available, to set the torque specified by the manufacturer. Make sure that the pedal axle is at a 90° angle to the crank and sits flush against the crank.
If you are unsure, get help from an experienced mechanic or contact your local bike store.
If you have exchanged your old pedals against MOTO Pedals we are very curious about your first impression and look forward to your Feedback.